In response to an earlier post, David asks the good question of how to add the files to Google Earth. It’s actually pretty easy.
1. Download Google Earth if you don’t already have it installed. It’s free, and it’s useful for all sorts of things if you (or your kids) like maps at all.
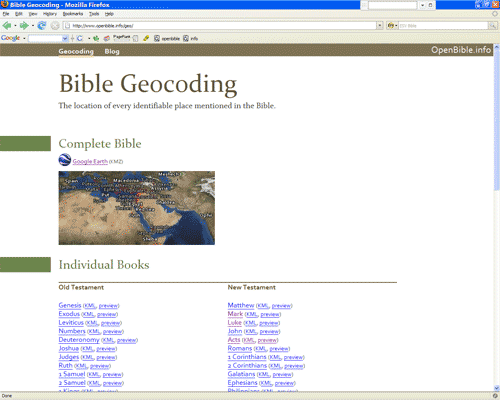
2. Go to the Geocoding page and click the KML or KMZ file you want. I’ll assume you want the file with all the places in the Bible.
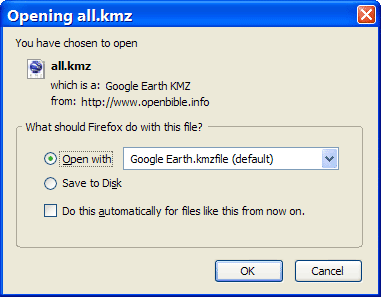
3. A popup window appears similar to the one below. Open the file directly with Google Earth. (Alternately, you can download the file somewhere, such as your Desktop, and open it there.)
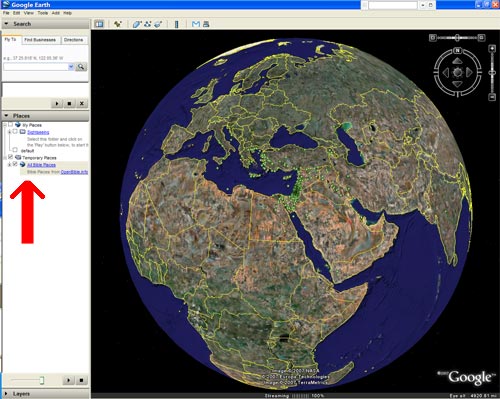
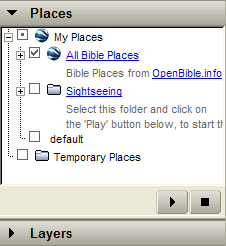
4. Google Earth opens. “All Bible Places” appears under the “Temporary Places” folder in the sidebar.
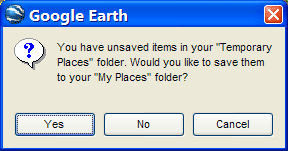
5.Now use Google Earth however you want to. When you’re done, close Google Earth to get the following prompt. Click “Yes” if you want to save the places permanently to your computer.
Now the places will appear whenever you start Google Earth. Check or uncheck the checkbox to make them appear or disappear.
I hope that was clear enough. Leave a comment if you run into any problems.
This blog post gives simple instructions for using the data in Google…
[…] This blog post gives simple instructions for using the data in Google […]