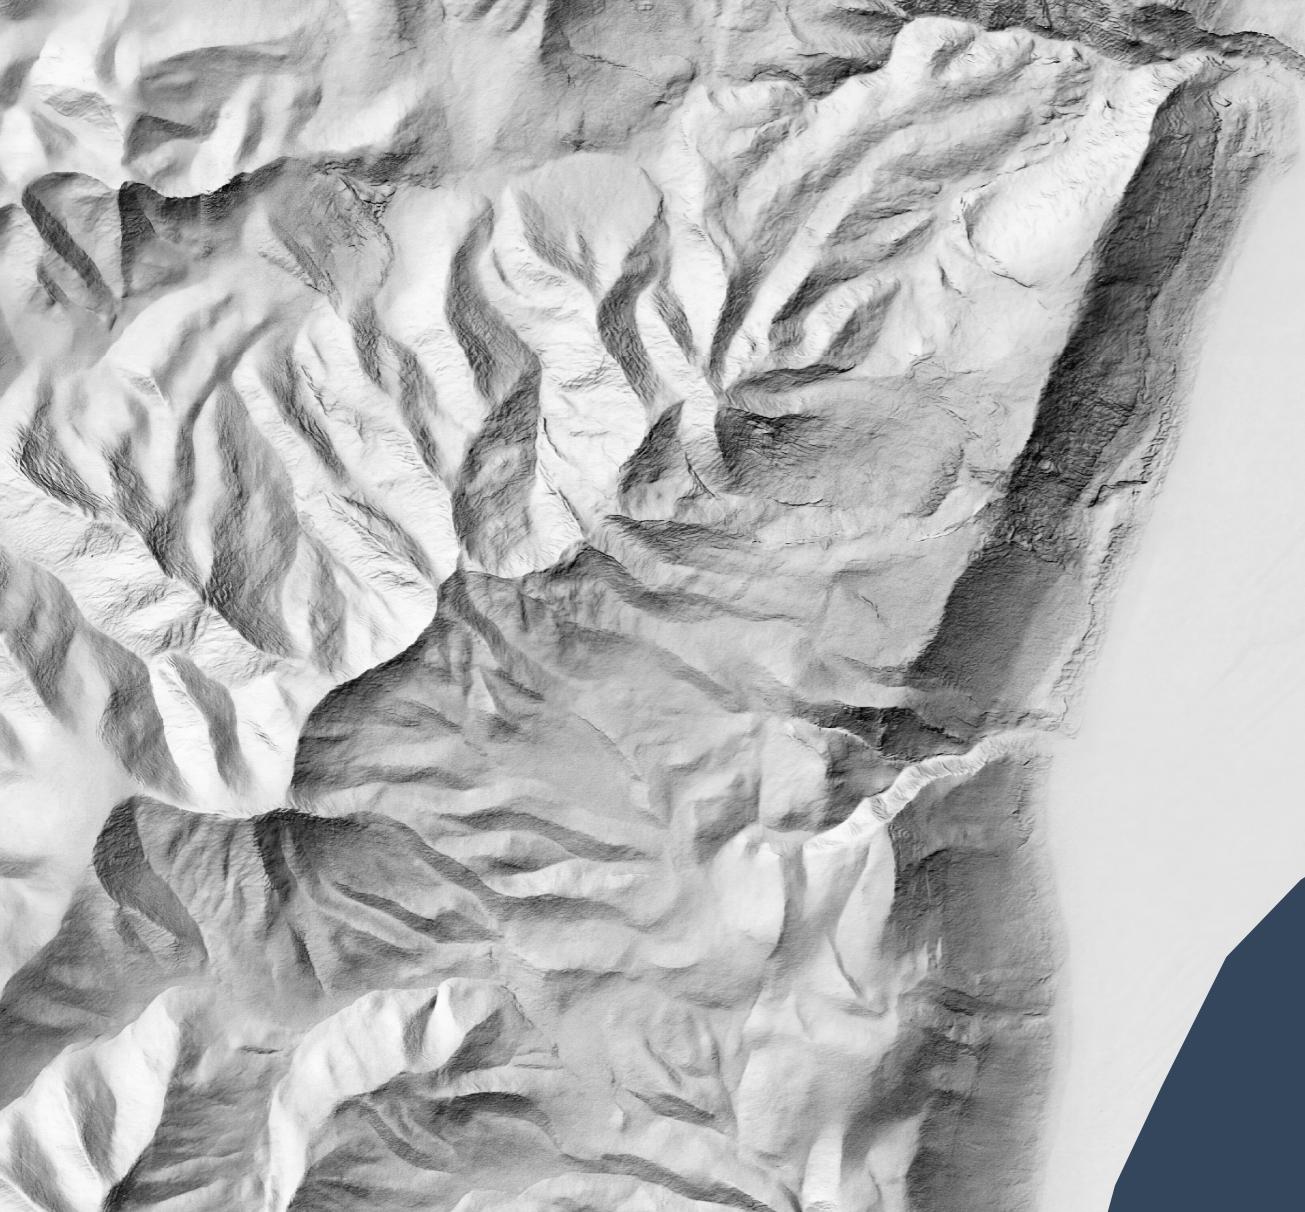
Let’s say you want a high-resolution (1.2 meters per pixel) hillshade like this one of cliffs and hills to the west of the Dead Sea:
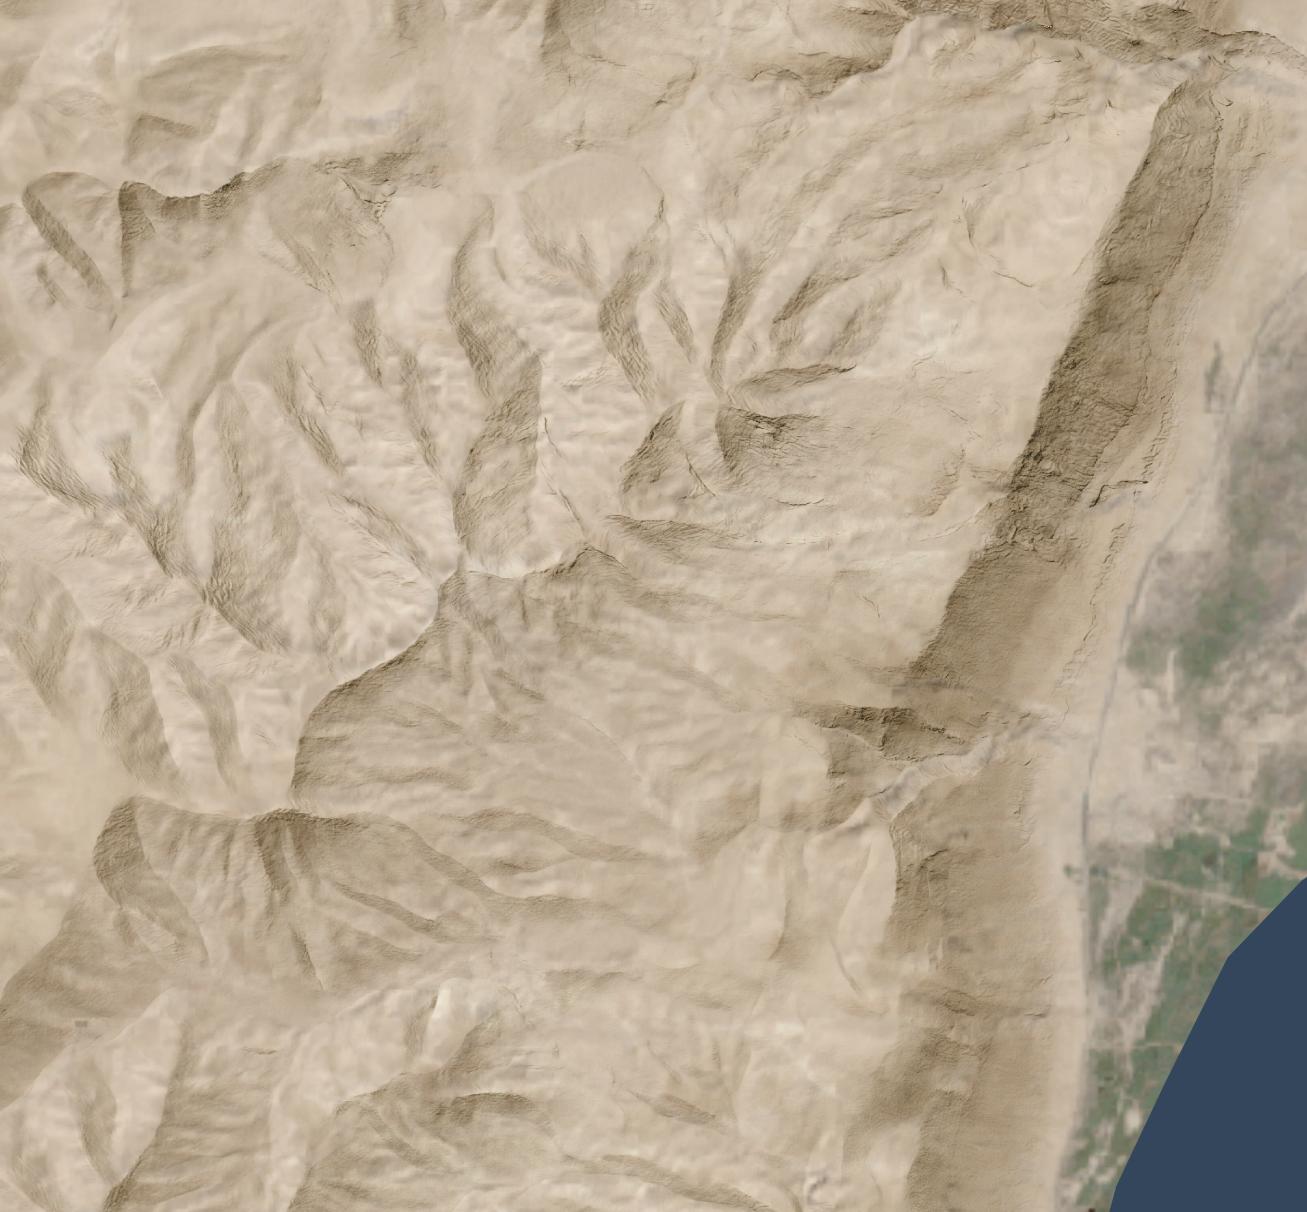
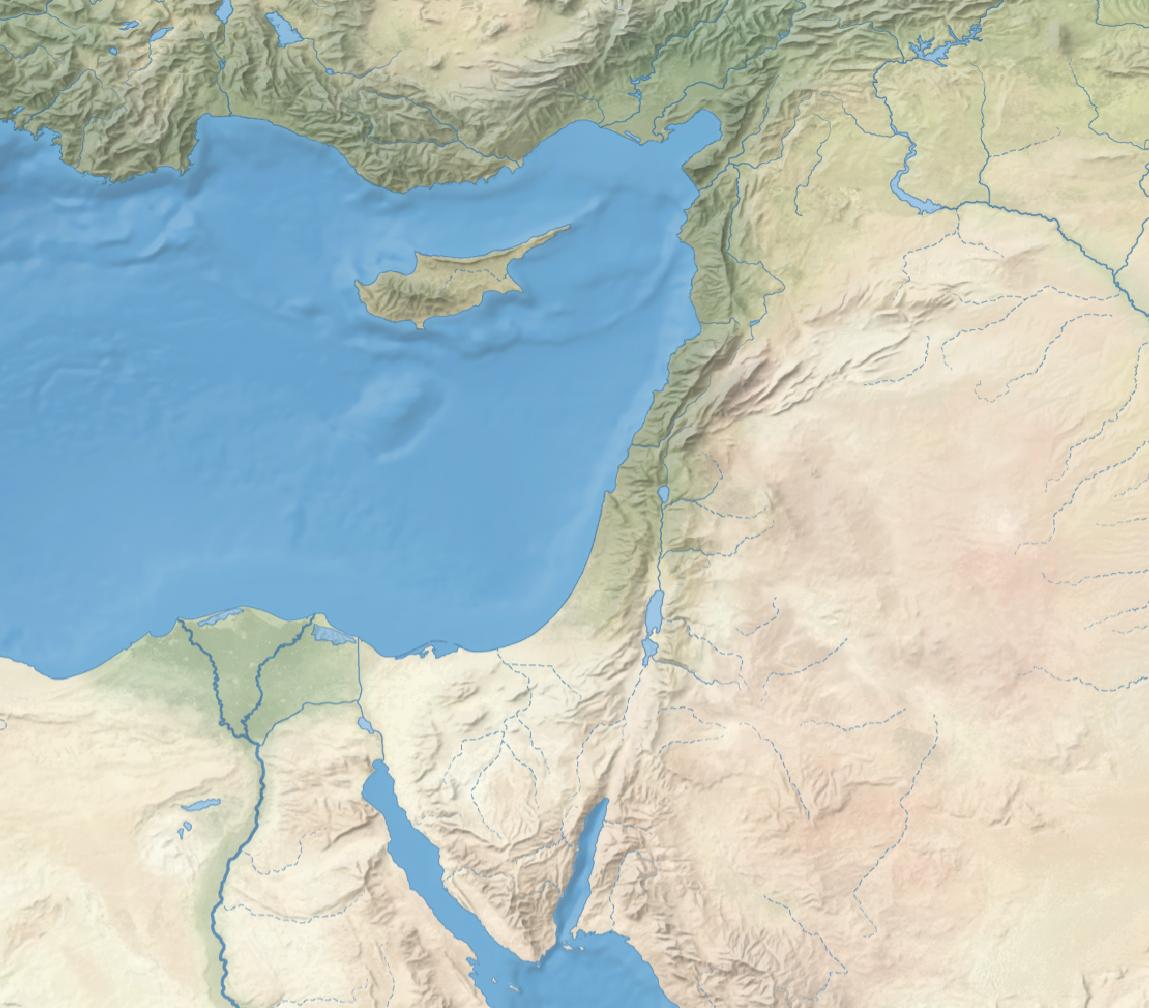
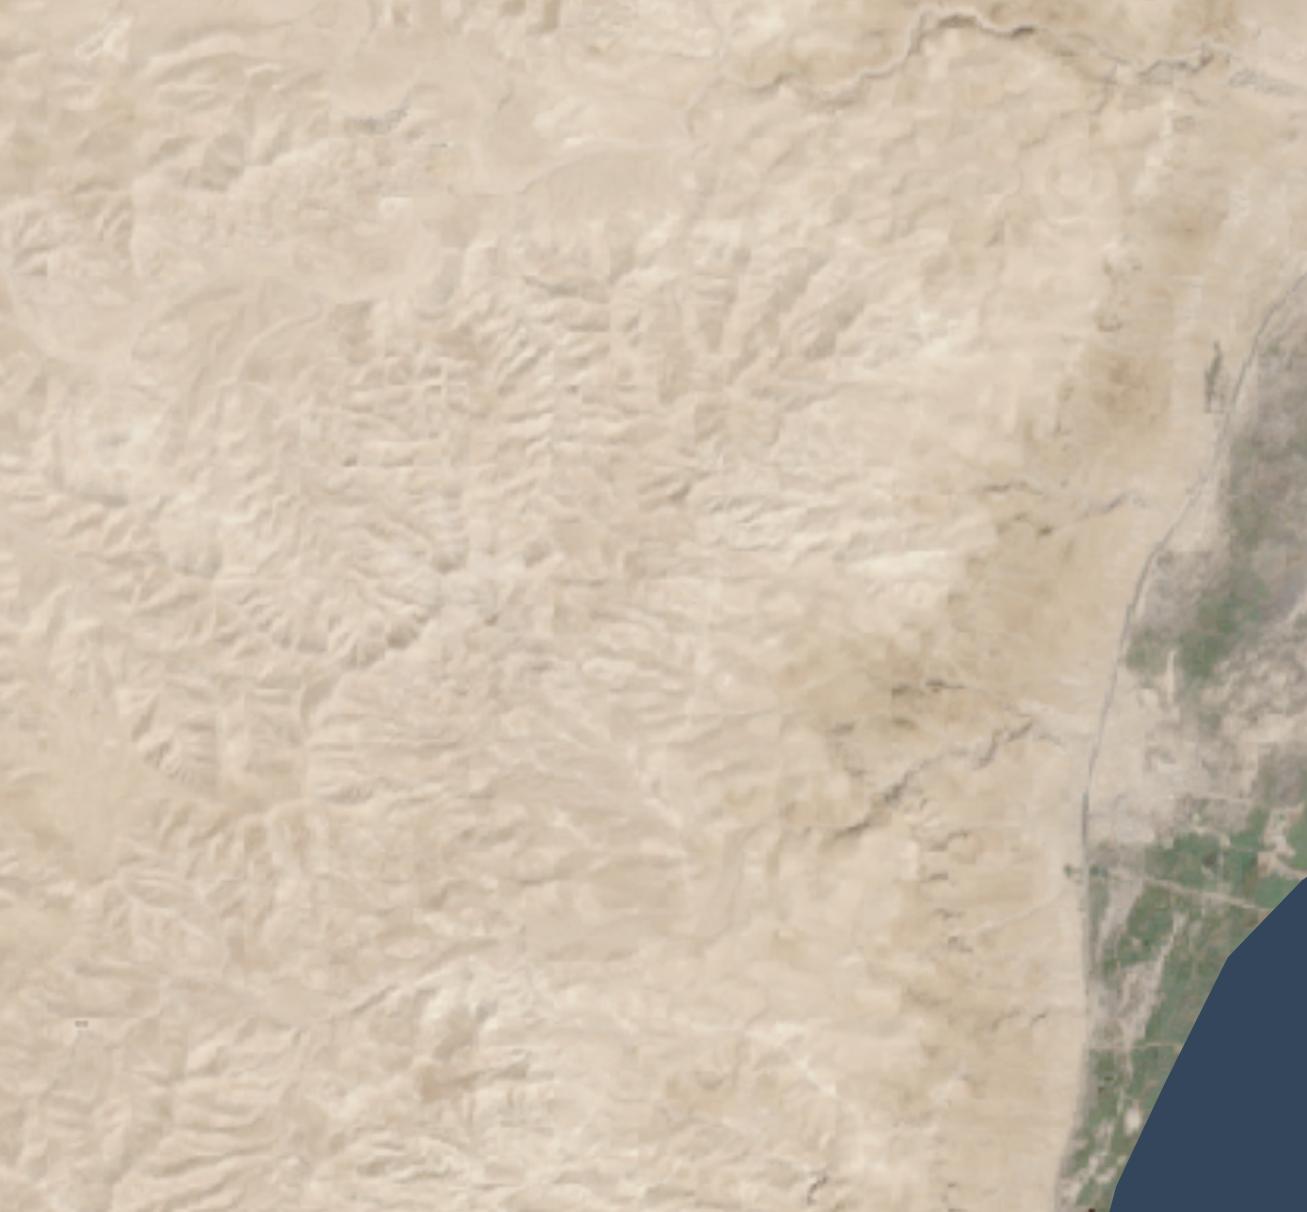
So that you can layer it over a satellite image (compare the original satellite image without hillshading added):
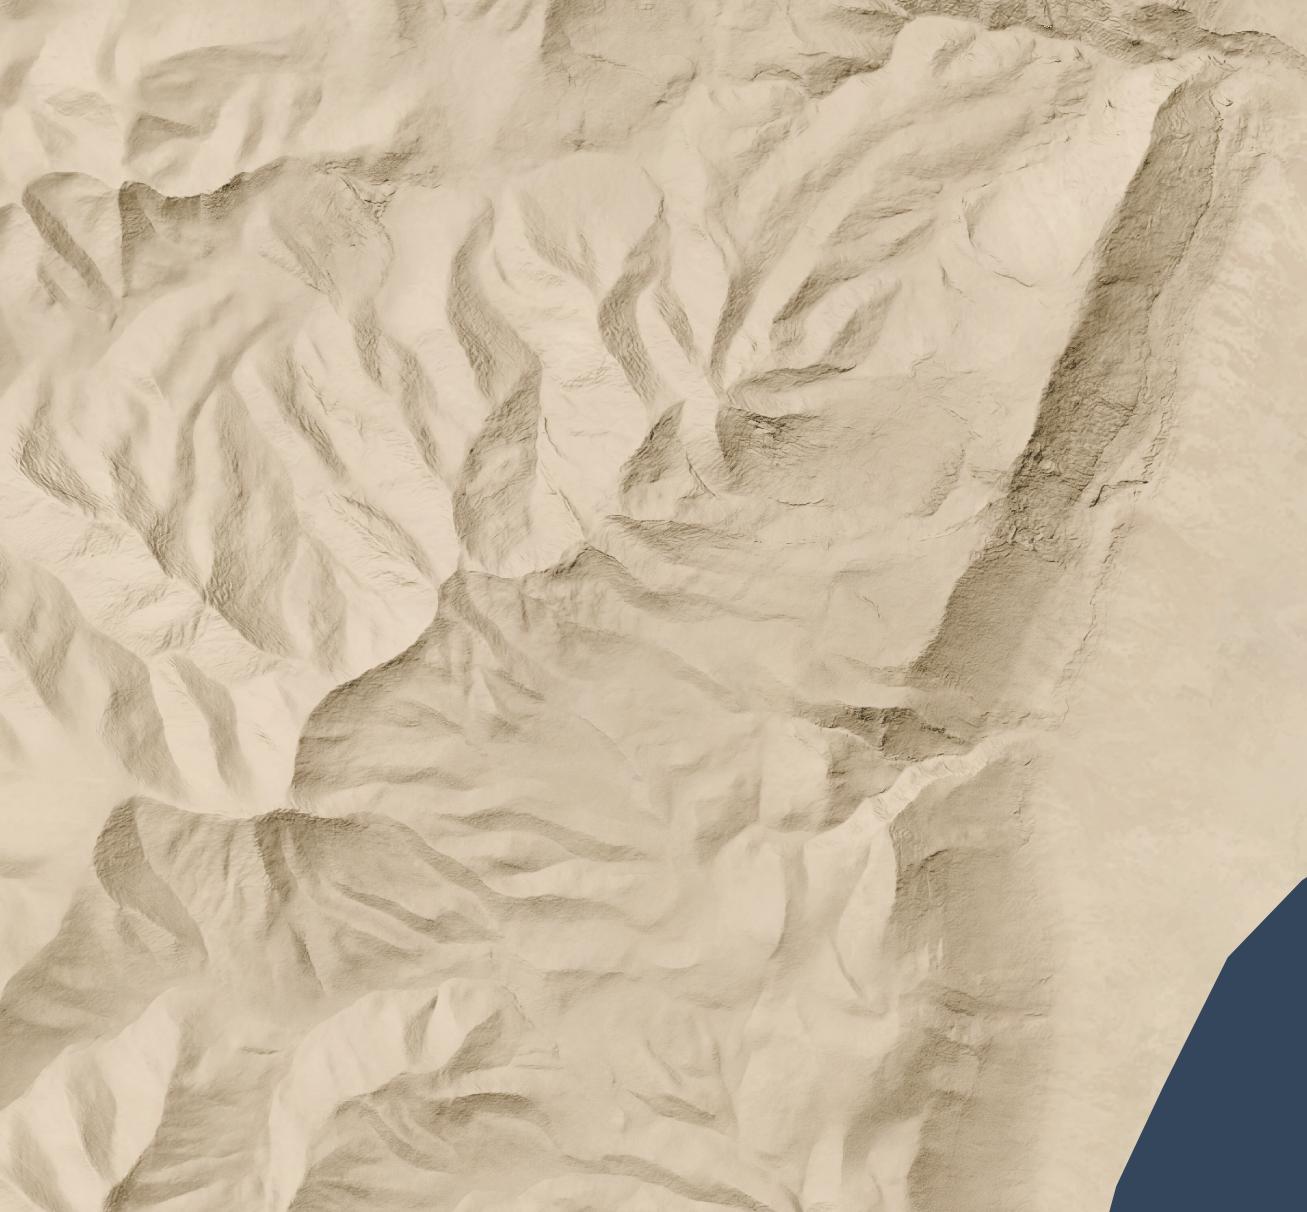
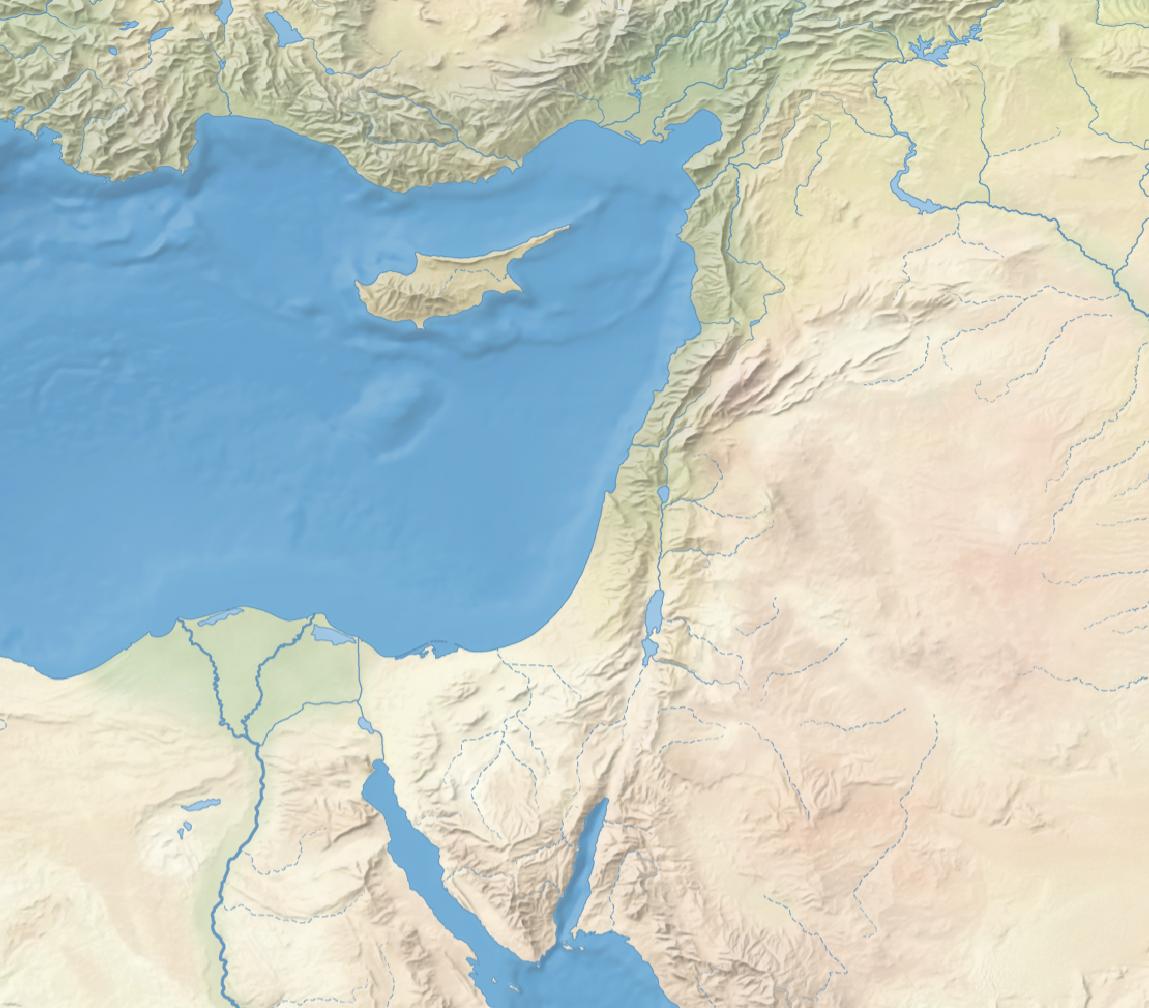
Or maybe over an idealized landscape with human features removed:
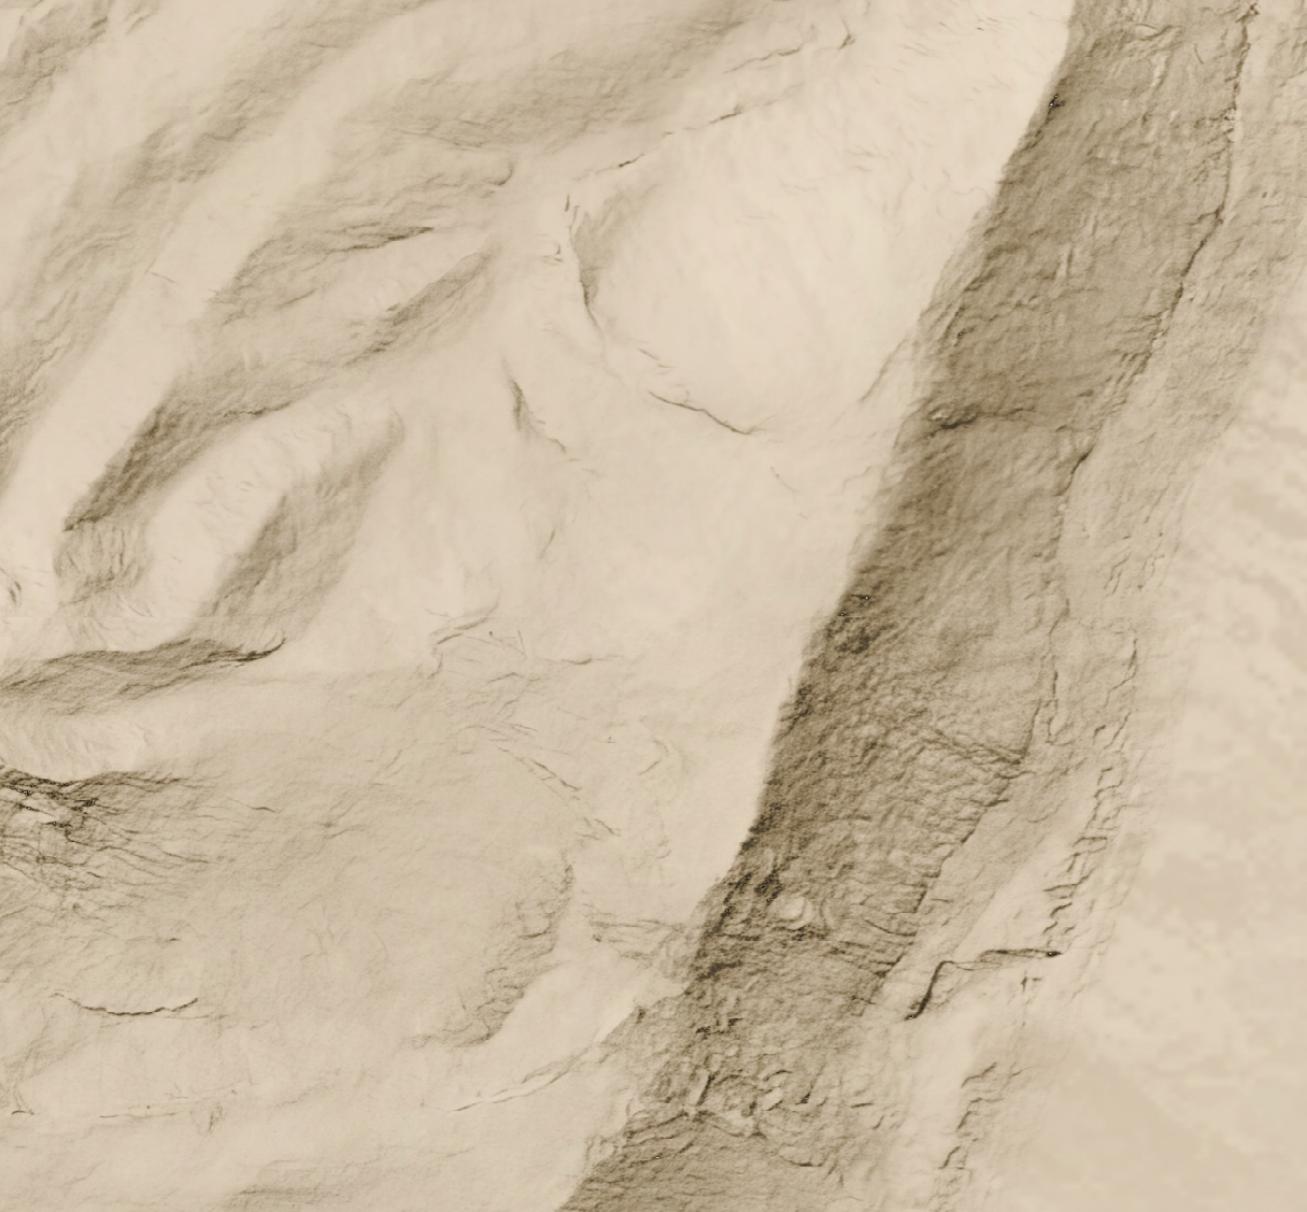
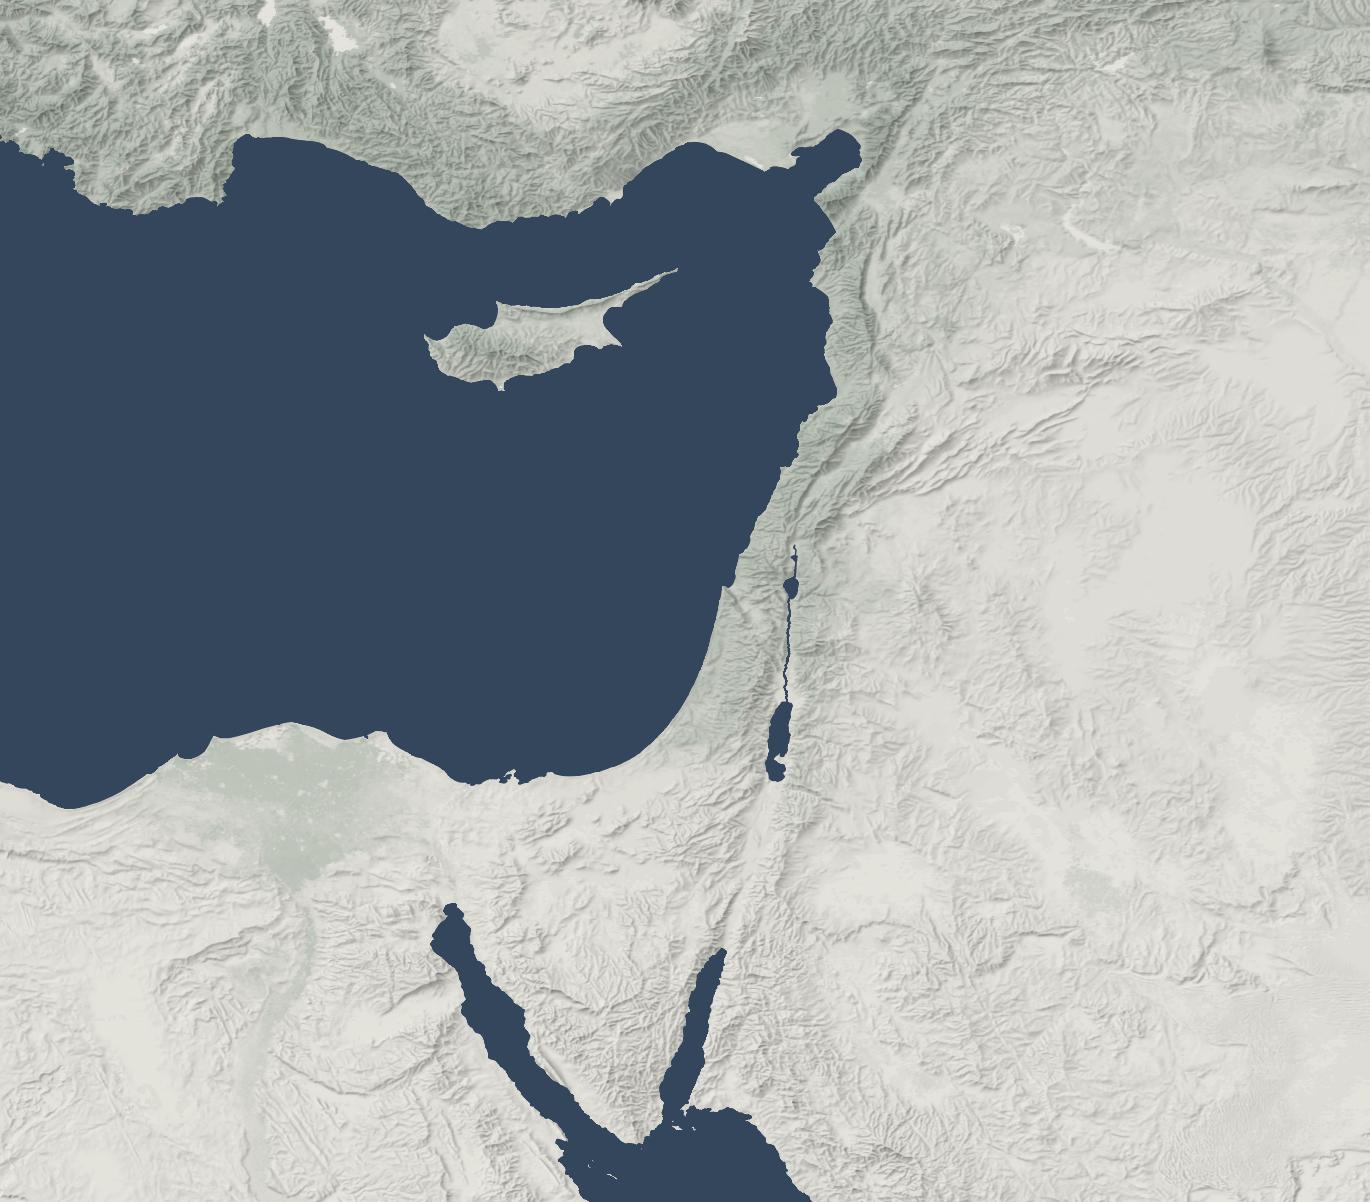
But all you have is a lower-resolution (30 meters per pixel) hillshade like this:

Nano Banana Pro can help you out, if you’re willing to accept that it’s making up all the details it’s adding to your lower-resolution hillshade and that your high-resolution hillshade looks nice but doesn’t necessarily reflect reality.
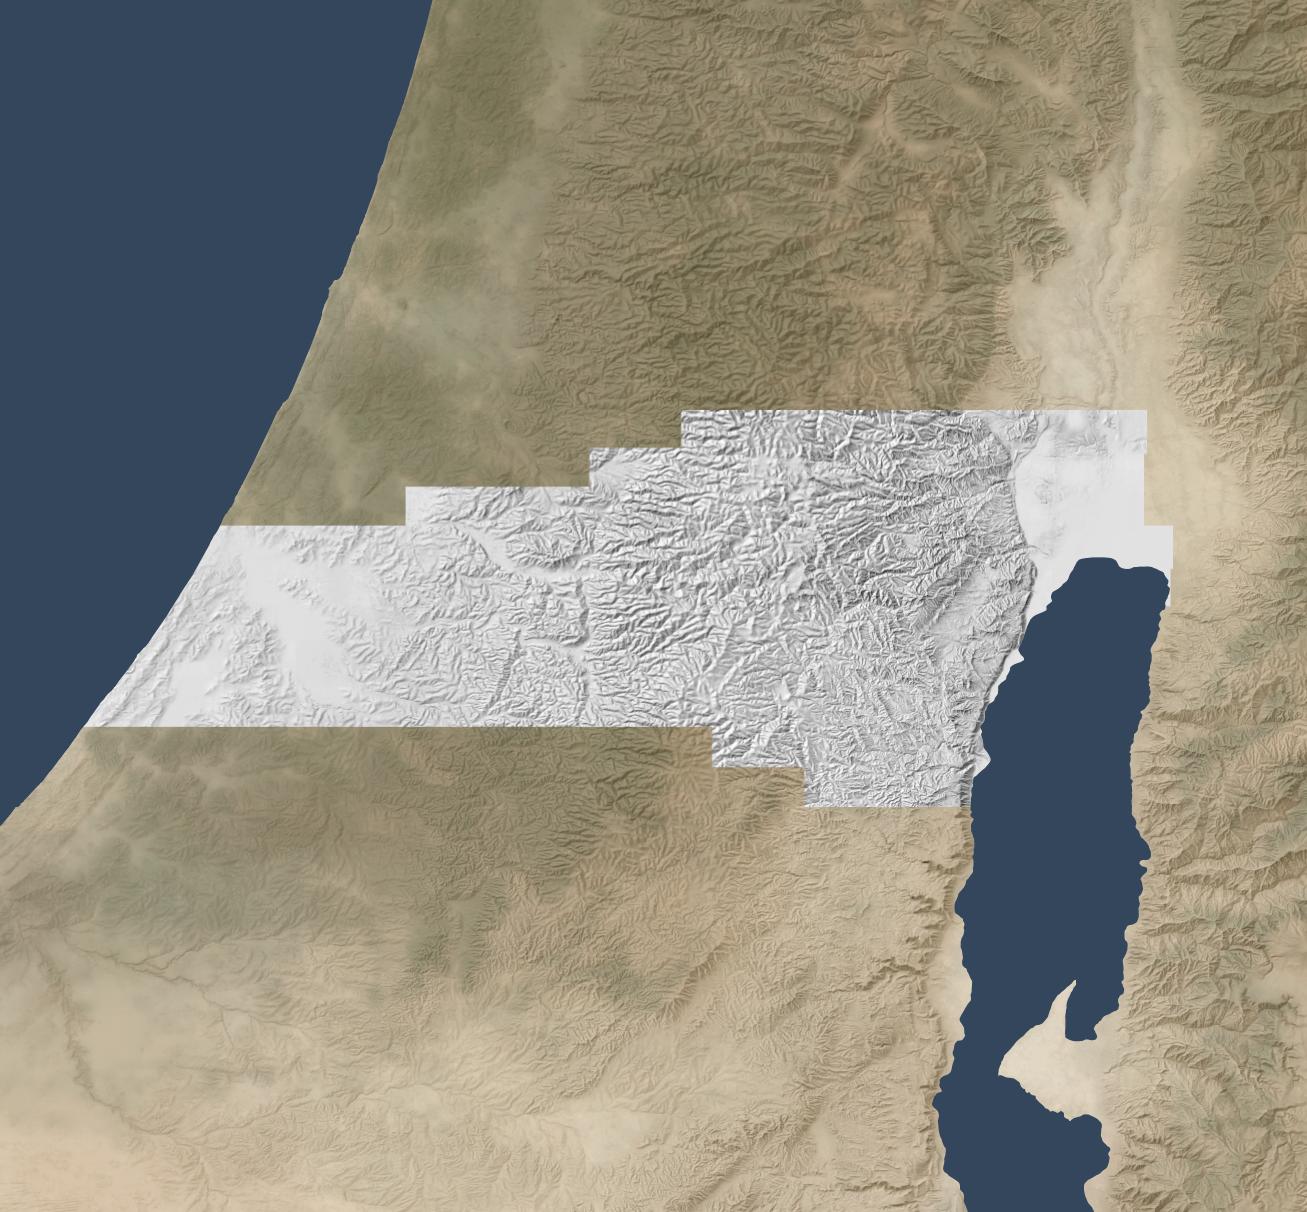
Here’s how I made the above hillshade and tiled it to cover about 3,000 square kilometers around Jerusalem.
Process
First, I used Eduard to create a 30m-per-pixel hillshade derived from the recent CC-BY-licensed GEDTM30. I gave the hillshade to Nano Banana Pro along with this prompt, repeating it a few times until I was satisfied with the result. I considered whether to go straight from the DEM to the final hillshade (which does actually work decently), but I wanted to take advantage of Eduard’s hillshading know-how. I also wasn’t confident that I could use the DEM for tiling.
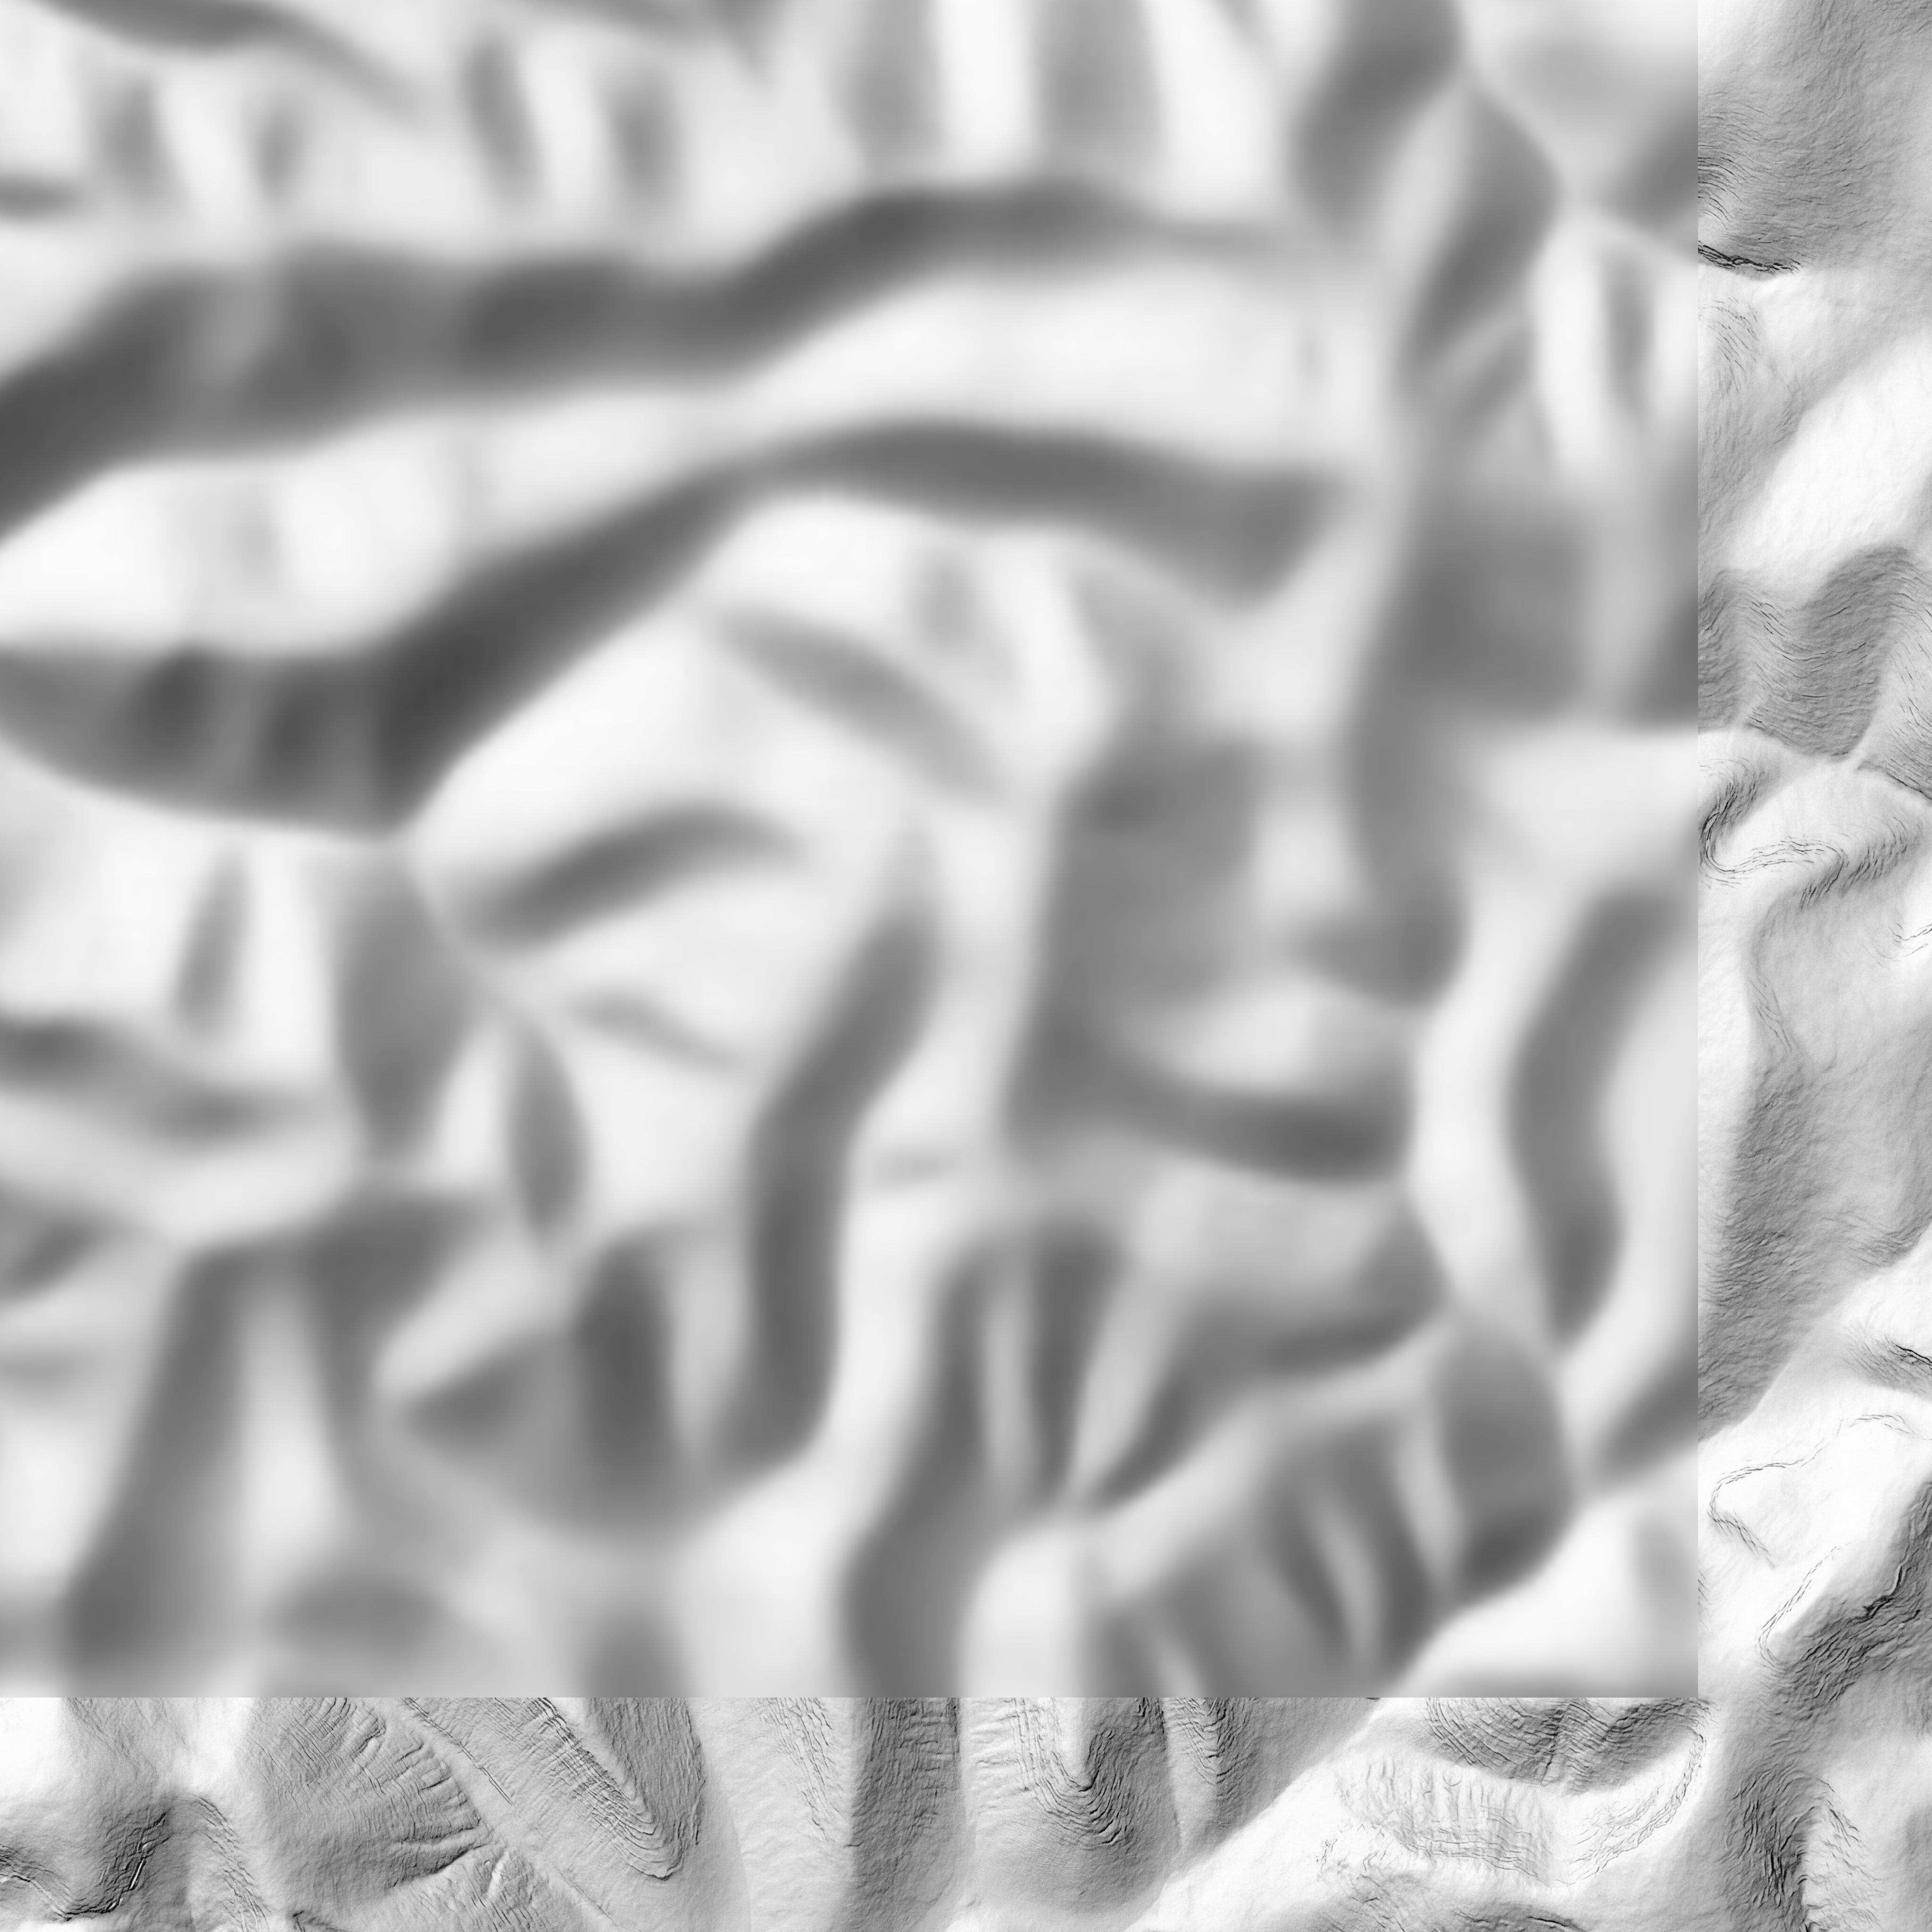
Once I had an initial tile, it was mostly a matter of creating tiles that extended from existing tiles. I ran Nano Banana Pro repeatedly with this prompt, overlapping each tile by 248 pixels for a 2K tile and 496 pixels for a 4K tile (about 25 square kilometers) to ensure that the style and luminosity were consistent between tiles. Here’s an example tile overlap with high-resolution hillshade on the right and bottom sides of the tile.
I did experience some style drift, however; the hillshades got fainter over time.
This process worked great for hilly terrain; I almost never had to regenerate a tile.
For terrain with large flat areas, however, this process fell apart quickly. It often took several tries, plus adjusting the amount of overlap between tiles, to get a usable result. Typically, Nano Banana Pro wouldn’t match the luminosity of the surrounding tiles, or it would add distracting detail to the flat area. It was possible to get a decent result, but it required lots of human attention and tinkering—in other words, it wasn’t an automated process like the hilly terrain was.
If you look hard enough, you can find some tiling artifacts in flat areas (and a few in hilly areas). In practice, these tiling artifacts won’t be visible to map viewers since you’re likely draping the hillshade over some kind of background and reducing the opacity or increasing the gamma to keep the hillshade from overwhelming the viewer.
I didn’t use Photoshop on any of these tiles (though I did sometimes run a histogram match between the source tile and the result tile), but I probably would need to if I were to create more tiles for flat areas.
Results
In all, I created hillshades for about 3,000 square kilometers around Jerusalem, spending US$70 on Nano Banana Pro (2.3 cents per square kilometer, or 6 cents per square mile). That cost includes a lot of experimentation; at scale, with a mix of hilly and flat areas, the all-in cost is about 1.8 cents per square kilometer.
This area represents about 15% of the area of the full extent of ancient Israel (“Dan to Beersheba”), which means it would cost around $500 to create a full set of tiles. I stopped tiling when I exhausted my budget for this project (and my patience for regenerating flat areas).
Here’s the coverage area:
Discussion
As noted above, the resulting hillshade is plausible but fake—there’s no way any process can turn a 30m hillshade into a 1.2m hillshade and reflect reality.
Whether you want to use this method depends on your application. If you’re creating a fantasy map, you’re already two steps removed from reality, so this method can add some extra realism to your map. If you’re doing historical mapping, you’re one step removed from reality, as climate, landforms, and landcover have shifted over time.
This method shines where you’re pushing past the detail available in the lower-resolution hillshade and want to provide a crisper experience without presenting all the detail that’s available in the higher-resolution hillshade. The Good Samaritan images below show where I think this method works especially well.
The hillshade quality is pretty good. In general, the results are hydrologically consistent (rivers drain in the correct direction). It also captures the traditional hillshade look exceptionally well, in my opinion, and this process scales well in hilly terrain. The limiting factor in hilly terrain is cost, whereas the limiting factor in flat terrain is the time involved to revise tiles. In flat areas, it might make sense to retain the lower-resolution hillshade or to use a different super-resolution method.
In principle, it would be possible to create a model similar to Eduard’s U-Net approach that could go from low-resolution to high-resolution hillshades without involving Nano Banana Pro. I’m skeptical that it would handle drainage properly, but the bigger barrier is that Google’s terms of service preclude creating such a model.
Conclusion
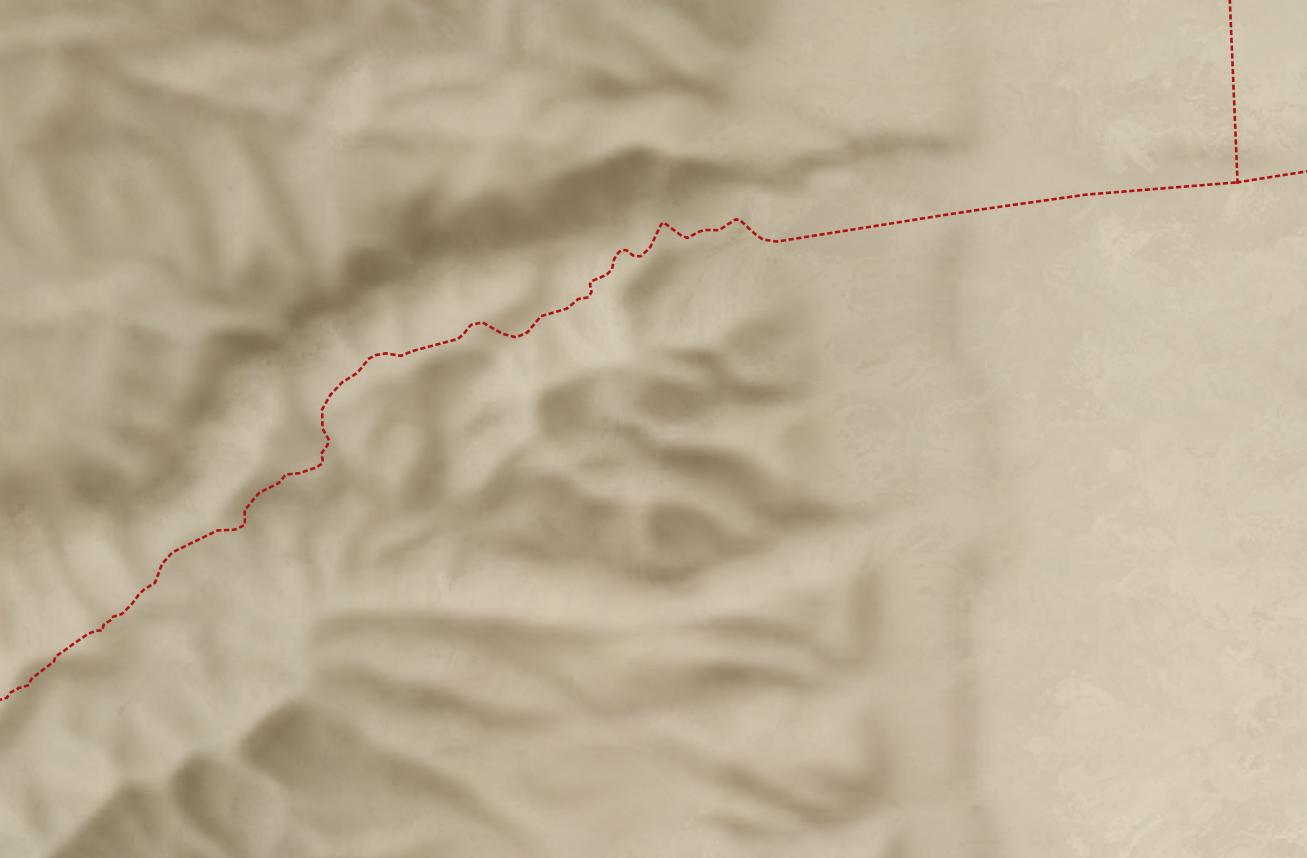
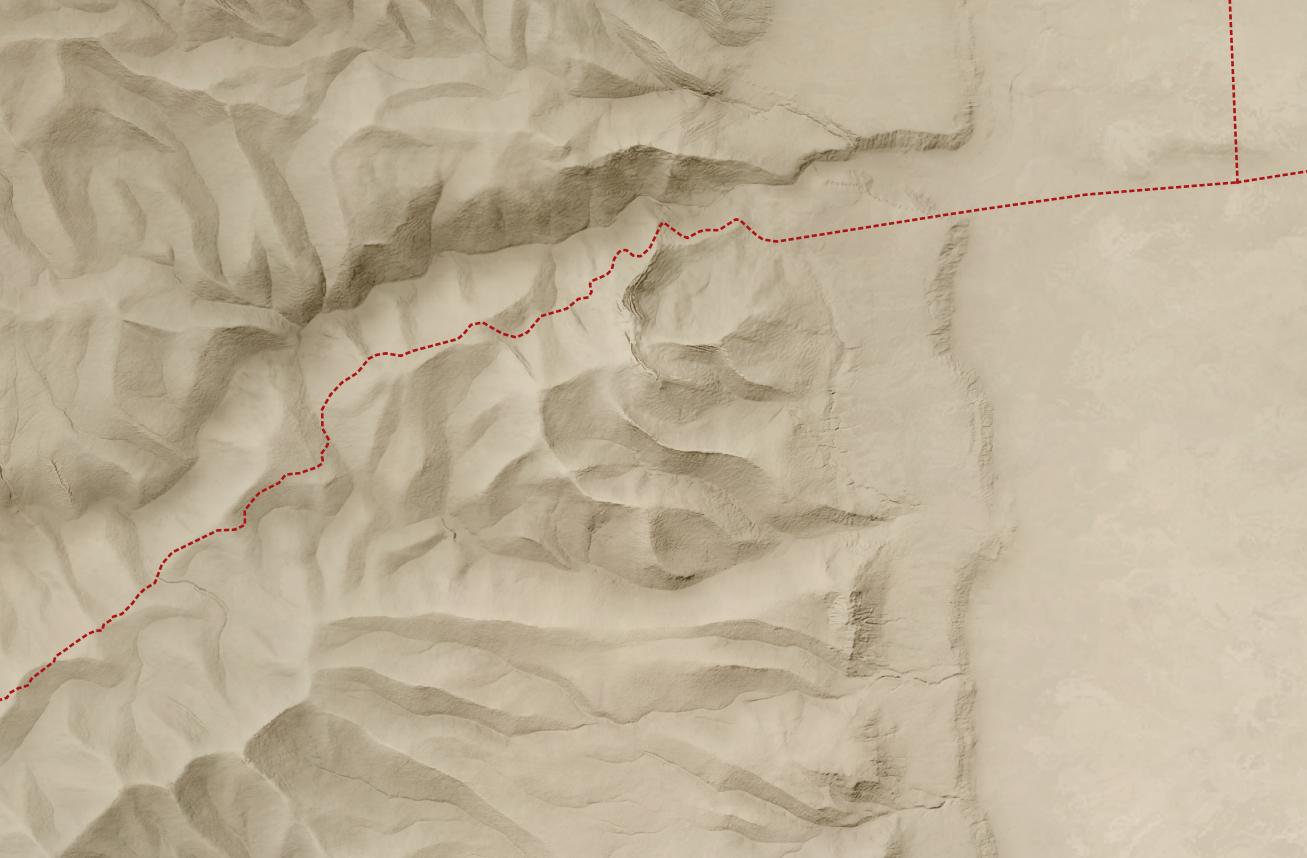
To give you a practical application, here’s a closeup of the road from Jericho (where the two roads intersect on the right) to Jerusalem (which is off-map to the left). This road reflects the setting of the Good Samaritan story. Everything on the high-resolution map feels crisper and clearer thanks to imaginary AI detail.
First the lower-resolution map:
And then the higher-resolution map:
The source 30m hillshade and derived 1.2m hillshade are both available here for your use. You’ll probably want a GIS tool like QGIS to work with them; you won’t be able to just use them as-is in Google Earth.